How to Track a Deer With No Blood: A Systematic Search Plan
Return to the exact hit site, rebuild the shot line and search for hair, tracks and disturbed cover before expanding from the last confirmed sign in a controlled grid.
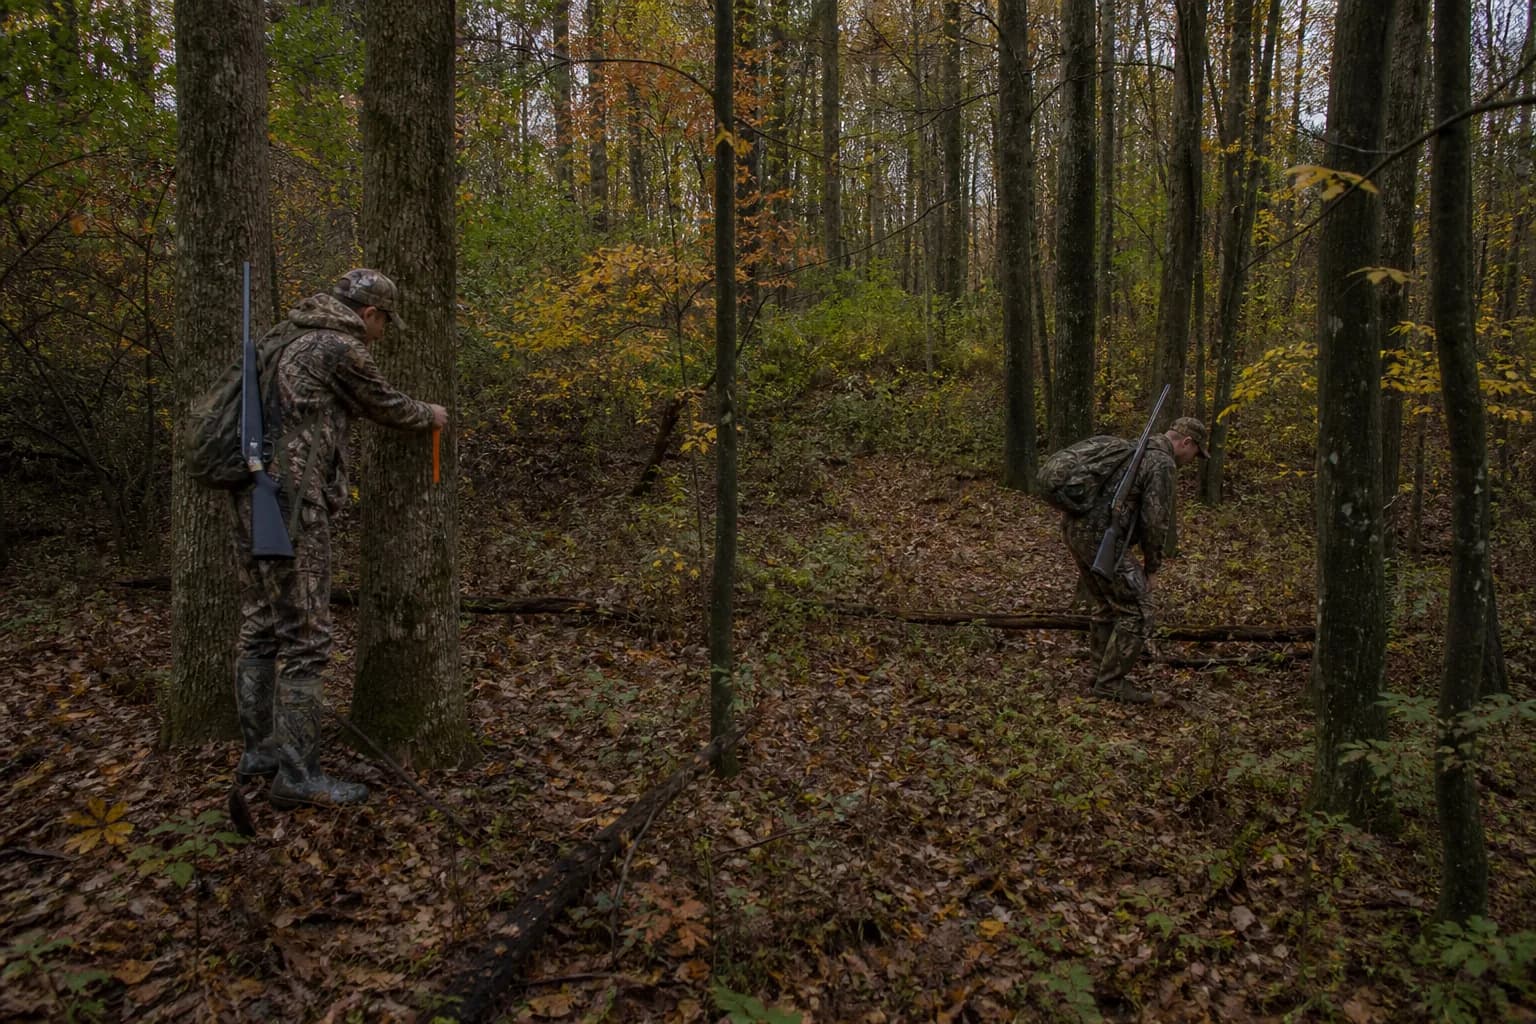
Return to the exact hit site, rebuild the shot line and search for hair, tracks and disturbed cover before expanding from the last confirmed sign in a controlled grid.
Recovery begins with observation, not movement. Make the firearm or bow safe, keep watching and listening, and record the exact place the deer stood and the last place it was visible. Blood is one clue among several. Color, amount, tracks, hair, shot angle and the deer's reaction must be considered together, and none of them can diagnose a wound with certainty from the field.
First, separate "no blood" from "no hit"
A clean-looking hit site does not settle the question. North Carolina Wildlife says blood may not appear until several yards after the shot, and Alaska Fish and Game notes that a high lung shot may not show a trail until blood accumulates internally. A wound away from major vessels, no exit or a wound blocked by tissue can also reduce external sign.
The correct response is not to search everywhere at once. It is to establish a reliable origin, inspect the first travel corridor and expand only from confirmed evidence. If the recommended wait has not passed, stop and consult the wait-time guide before doing anything else.
Step 1: rebuild the shot line
Return to the shooting position. Identify the deer's location and last sighting using two fixed landmarks, a compass bearing or saved map pins. Check that the apparent line still makes sense from ground level. If another person saw the shot, ask for an independent description before sharing your own; agreement reached after discussion is less useful than two original observations.
Mark the shooting position and the exact or best-supported hit site. Do not let helpers walk freely between them. A single controlled approach preserves tracks, hair and impact marks that may be small.
Step 2: conduct a detailed hit-site search
Begin at the place the deer stood and inspect a circle around it. Search under leaves, not only on top. Look at low vegetation, bark and stems on the departure side. Official wildlife guidance lists tracks, hair, blood, tissue, disturbed soil, skid marks, broken vegetation, projectile marks and the arrow as useful evidence.
| Clue | Where to look | What to record |
|---|---|---|
| Hair | Ground, bark, brush and arrow | Color, length, quantity and exact location |
| Tracks | Soft soil, leaf edges, mud and trail crossings | Direction, stride and any drag or uneven print |
| Disturbed cover | Leaves, grass, narrow openings and broken stems | Fresh underside color and direction of displacement |
| Impact evidence | Tree, soil, branch or recovered arrow | Location relative to the intended line |
| Small blood sign | Undersides of leaves and vegetation above ground | Photo, height, color and GPS point |
Photograph clues before moving them. If blood is found, switch back to the normal blood-tracking workflow.
Step 3: follow non-blood sign along the departure line
Move beside the route, one short segment at a time. Freshly overturned leaves often show a darker or wetter underside. A running deer may cut a deeper track, kick soil backward, break small stems or brush hair onto vegetation. Pause and look ahead at body height as well as down at the ground.
Do not assume every fresh deer track belongs to the animal being recovered. Compare track direction with the last sighting and keep the shot line behind you. When a clue is strong enough to guide the next segment, mark it as the last confirmed sign. A suspected trail without a defensible anchor is only a search lead.
Step 4: check the most likely travel corridor
Before forming a grid, examine the path the evidence actually supports: the line of departure, the first narrow opening, nearby game-trail intersections, the edge of security cover and the first reasonable bedding pocket. Scan both sides of obstacles. A deer may turn sharply after entering cover, so stop at each transition and look back toward the last marker.
Avoid claims that every wounded deer goes downhill, toward water or into the thickest cover. Those locations can be useful search features, but they are not rules. New York's tracking guide specifically notes that wounded deer may travel uphill or downhill. Follow evidence first and terrain theories second.
Step 5: run a one-person reset before a full grid
- Leave one marker and, if possible, one person at the last confirmed sign.
- Walk a small arc across the likely direction, scanning toward the anchor.
- Return to the anchor after each arc rather than connecting random loops.
- Check brush at several heights and inspect crossings carefully.
- Stop immediately when new sign appears.
This reset limits trampling and may relocate a trail that simply changed direction. It also preserves the site for a dog team. If the reset adds no evidence, record the completed area before bringing in more searchers.
Step 6: organize a controlled grid
Choose a straight baseline such as a trail, fence, field edge or compass bearing. Place searchers in parallel lanes close enough that the ground and low cover between people can be inspected. Ten yards may be too wide in dense saplings and unnecessarily tight in open timber; visibility should determine spacing.
- Assign a leader and one person to record the map.
- Mark the beginning and end of every lane.
- Move at the pace of the slowest searcher.
- Pause together at ditches, fences, creeks and thick-cover edges.
- Use standard words such as "stop" and "sign" so everyone freezes when a clue is found.
- Return to the last confirmed sign to start a new sector; do not let the grid drift.
If any blood, hair, bed or distinctive track is found, stop the grid. Photograph and mark the clue, then return to sign-following mode. More people and more distance are not automatically better.
When to call a tracking-dog handler
Call before a large grid when the hit is believed to be serious, visible sign ends early or property and darkness will complicate recovery. Describe the shot, wait, clues and every area already searched. Do not create an artificial blood trail, move the arrow or allow pets to roam the site. A licensed handler may ask searchers to leave by the same route they entered.
Dog use is regulated differently across states. New York, for example, licenses certified leashed tracking-dog handlers. Confirm the rules where the hunt occurred rather than assuming a handler can cross a boundary, track at night or carry a firearm.
Common mistakes that reduce the quality of the search
- Starting before the selected wait because rain or darkness creates pressure.
- Searching the last sighting while ignoring the actual hit site.
- Walking on the suspected trail and covering small evidence.
- Following the most obvious deer trail without a matching clue.
- Letting an unmarked circular search grow until no one knows what is complete.
- Crossing private property without permission.
- Continuing when fatigue, darkness or terrain makes the search unsafe.
Before the next recovery, save the post-shot checklist offline. A precise starting record is the best protection against a no-blood search becoming random.
Sources & field references
Frequently asked
Can a seriously wounded deer leave no blood trail?
Yes. Alaska Fish and Game notes that a high lung hit or a wound away from large vessels can produce little initial blood. No exit, internal bleeding or a blocked wound can also limit external sign, so inspect hair, tracks and disturbed vegetation.
How wide should a no-blood grid search be?
There is no universal spacing. Begin tightly around the last confirmed sign and set parallel lanes narrow enough for searchers to see the ground and low cover between them. Dense vegetation requires closer spacing than open woods.
Related field notes

Blood Tracking Dogs: When to Call and How to Protect the Trail
A trained, leashed tracking dog can follow scent when visible blood fades. Call early, protect the hit site, and confirm the rules before a large search disturbs the trail.

How to Carry a Rifle While Blood Tracking
The best carry method during a recovery keeps the muzzle controlled, the trigger protected, and the firearm secure while terrain and the search task change.

Shoulder or Muscle-Hit Deer: Reading the Trail
Shoulder, leg, and superficial muscle wounds can produce bright blood, hair, or bone without proving a fatal chest hit. Preserve the trail and reassess before pushing ahead.