How to Blood Track a Deer: A Step-by-Step Field Guide
Wait before taking the trail, start at the exact hit site, mark every confirmed sign and let blood, hair, tracks and the deer's reaction tell one consistent story.
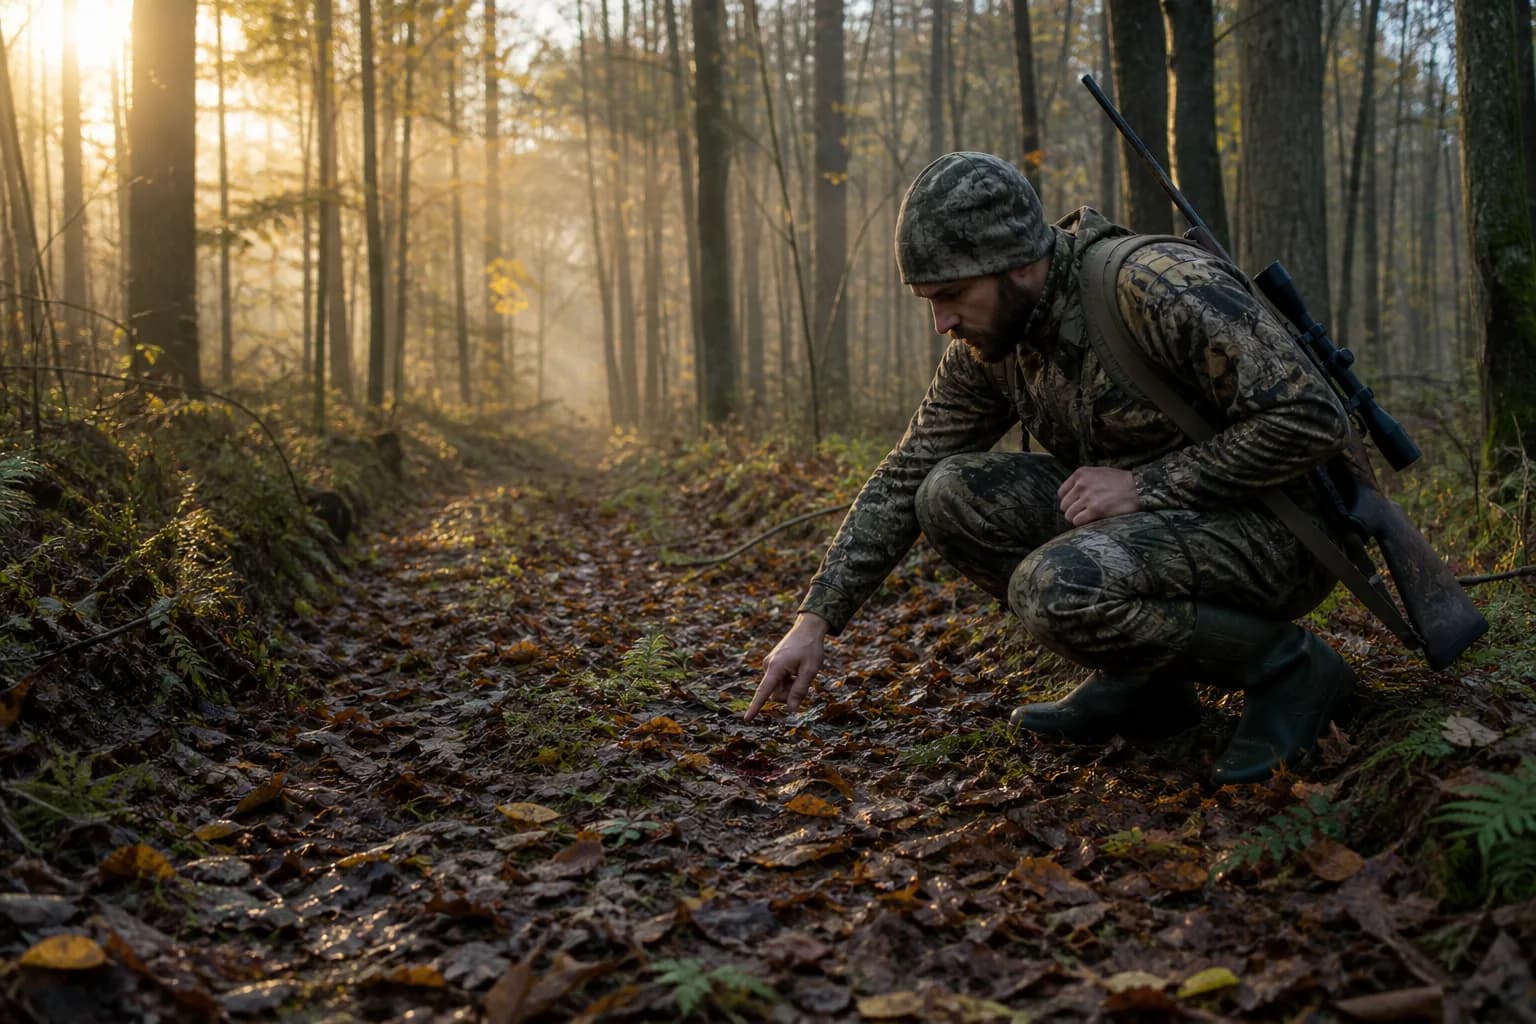
Wait before taking the trail, start at the exact hit site, mark every confirmed sign and let blood, hair, tracks and the deer's reaction tell one consistent story.
Recovery begins with observation, not movement. Make the firearm or bow safe, keep watching and listening, and record the exact place the deer stood and the last place it was visible. Blood is one clue among several. Color, amount, tracks, hair, shot angle and the deer's reaction must be considered together, and none of them can diagnose a wound with certainty from the field.
Before taking the trail: build a reliable starting record
Remain at the shot position long enough to reconstruct what happened. Note the deer's body angle, the point you aimed at, the last visible direction of travel and any sound after it entered cover. Choose landmarks that can be recognized from ground level. A branch that looks obvious from a stand can disappear once you climb down.
Use a phone, compass or paper map to record three locations: the shooting position, the place the deer stood and the last sighting. Alaska Fish and Game recommends preserving the sight picture and using a bearing toward the point where the animal disappeared. That simple line can keep the first search from drifting toward the route a hunter expects instead of the route the deer actually took.
Step 1: choose the wait from the evidence
If the deer is not visibly down, resist the urge to follow immediately. Massachusetts wildlife guidance says to wait at least 30 minutes after a firearm shot and 45 to 60 minutes after an archery shot. Texas hunter education gives a general range of 30 minutes to one hour. These are useful baselines, not promises that every deer will be ready to recover at that time.
A shot believed to be farther back, minimal dark blood, digestive material, a hunched reaction or a deer that slows and beds are reasons to make a more cautious decision. Missouri's current deer guide notes that liver or gut hits may require about four hours to avoid pushing the animal. When clues conflict, use the slower interpretation and review the detailed wait-time decision guide.
Step 2: approach the hit site without erasing it
Walk to the exact location where the deer stood, approaching from the side when possible. Do not lead a group directly through the suspected path. Photograph each clue before moving leaves or picking up an arrow. Search a full circle around the location because initial blood may be absent. North Carolina Wildlife notes that a mortally wounded deer may travel several yards before visible blood begins.
Look for tracks, cut or displaced hair, blood, tissue, disturbed leaves, clipped vegetation, skid marks, an arrow, bullet or broadhead impact marks, and blood on brush above the ground. A lack of blood at the hit site does not prove a miss. Compare the full set of clues with the deer blood color chart, which treats every color as an indication rather than a verdict.
Step 3: move from one confirmed sign to the next
- Stand beside the last confirmed clue and look ahead before stepping.
- Scan the ground, the undersides of leaves and low vegetation on both sides.
- Mark the clue beside the trail and save a GPS point when useful.
- Move only when the next clue or the travel direction is reasonably supported.
- If the next sign is not found, return to the marker instead of wandering forward.
Walk alongside the trail so evidence remains intact. Look back at the markers periodically. Their alignment may reveal a turn that is hard to see one drop at a time. Keep the number of searchers small and assign one person to remain at the last confirmed sign. Other helpers can scan ahead or to the sides, but everyone should stop when new evidence appears.
Step 4: interpret changes over distance
A single drop has limited value. The useful story is how sign changes. Note droplet size and spacing, blood height on vegetation, whether the trail appears on one or both sides, tracks that show an uneven stride, and whether blood becomes more or less frequent. Shot angle can affect where external blood appears. A high entry with a lower exit may produce sign on only one side; a wound can also bleed internally before much reaches the ground.
Do not assume that abundant bright blood always means a short trail, or that sparse blood means the deer survived. State recovery guides describe overlapping patterns from arteries, muscles and other wounds. Use color and texture to choose caution, then let tracks, hair, angle, reaction and the developing trail test that choice.
Step 5: respond correctly when the trail stops
Protect the last sign first. Mark it clearly, then check the immediate line of travel, both sides of nearby brush and likely crossings. Search in small arcs that always return to the anchor. If no blood appears, look for fresh tracks, kicked leaves, broken stems and body contact on narrow openings. Only after the probable corridor is checked should the search expand.
Do not let several people fan out without a plan. That can cover sign, add footprints and make a later dog track harder. Use the controlled lanes in the no-blood search plan if the visual trail cannot be restarted.
Step 6: know when to back out or call a handler
A fresh bed without the deer, pooled blood that abruptly becomes sparse, a deer seen getting up ahead, or evidence that the suspected hit was farther back are signals to stop and reconsider the wait. Record the bed or last sign, leave along the route used to enter and avoid walking the expected line.
If legal in the state, a trained leashed tracking-dog team can work scent even when visible blood ends. Contact a handler early, describe where people have walked and follow the handler's instructions about preserving the site. New York DEC's current licensing page is a reminder that dog use, handler licensing and nighttime recovery rules are jurisdiction-specific.
Compact blood-tracking checklist
- Make the hunting implement safe and record the time.
- Mark the shooter, hit site and last sighting.
- Select the wait from the complete evidence.
- Photograph hair, blood, tracks and tissue before touching them.
- Walk beside the trail and mark each confirmed clue.
- Keep one person at the last sign during a difficult restart.
- Back out when a deer is bumped or the evidence calls for more time.
- Remove flagging and follow tagging, reporting and access rules.
For the sequence from the first second after the shot through field care, keep the post-shot recovery checklist available offline.
Sources & field references
- Massachusetts Division of Fisheries & Wildlife - Deer hunting tips
- Texas Parks & Wildlife Department - After the Shot
- North Carolina Wildlife Resources Commission - After the Hunt
- Alaska Department of Fish and Game - Recovering Wounded Game
- Missouri Department of Conservation - Hunting White-Tailed Deer in Missouri
Frequently asked
How soon should you start blood tracking a deer?
There is no single wait for every hit. Current state hunter-education guidance commonly starts at 30 minutes when a deer is not visibly down, while archery, uncertain, liver or digestive hits may call for more time. Use all available evidence and the weather, not the clock alone.
What should you mark on a deer trail?
Mark the shooting position, where the deer stood, its last visible location and every confirmed clue. Keep markers beside rather than on the trail, record GPS points when practical and remove non-biodegradable flagging afterward.
Related field notes

Blood Tracking Dogs: When to Call and How to Protect the Trail
A trained, leashed tracking dog can follow scent when visible blood fades. Call early, protect the hit site, and confirm the rules before a large search disturbs the trail.

How to Carry a Rifle While Blood Tracking
The best carry method during a recovery keeps the muzzle controlled, the trigger protected, and the firearm secure while terrain and the search task change.

Shoulder or Muscle-Hit Deer: Reading the Trail
Shoulder, leg, and superficial muscle wounds can produce bright blood, hair, or bone without proving a fatal chest hit. Preserve the trail and reassess before pushing ahead.