What to Do After Shooting a Deer: Recovery Checklist
Stay in place, make the weapon safe, watch and listen, mark the deer's position and last sighting, record the time, then choose the wait before approaching the hit site.
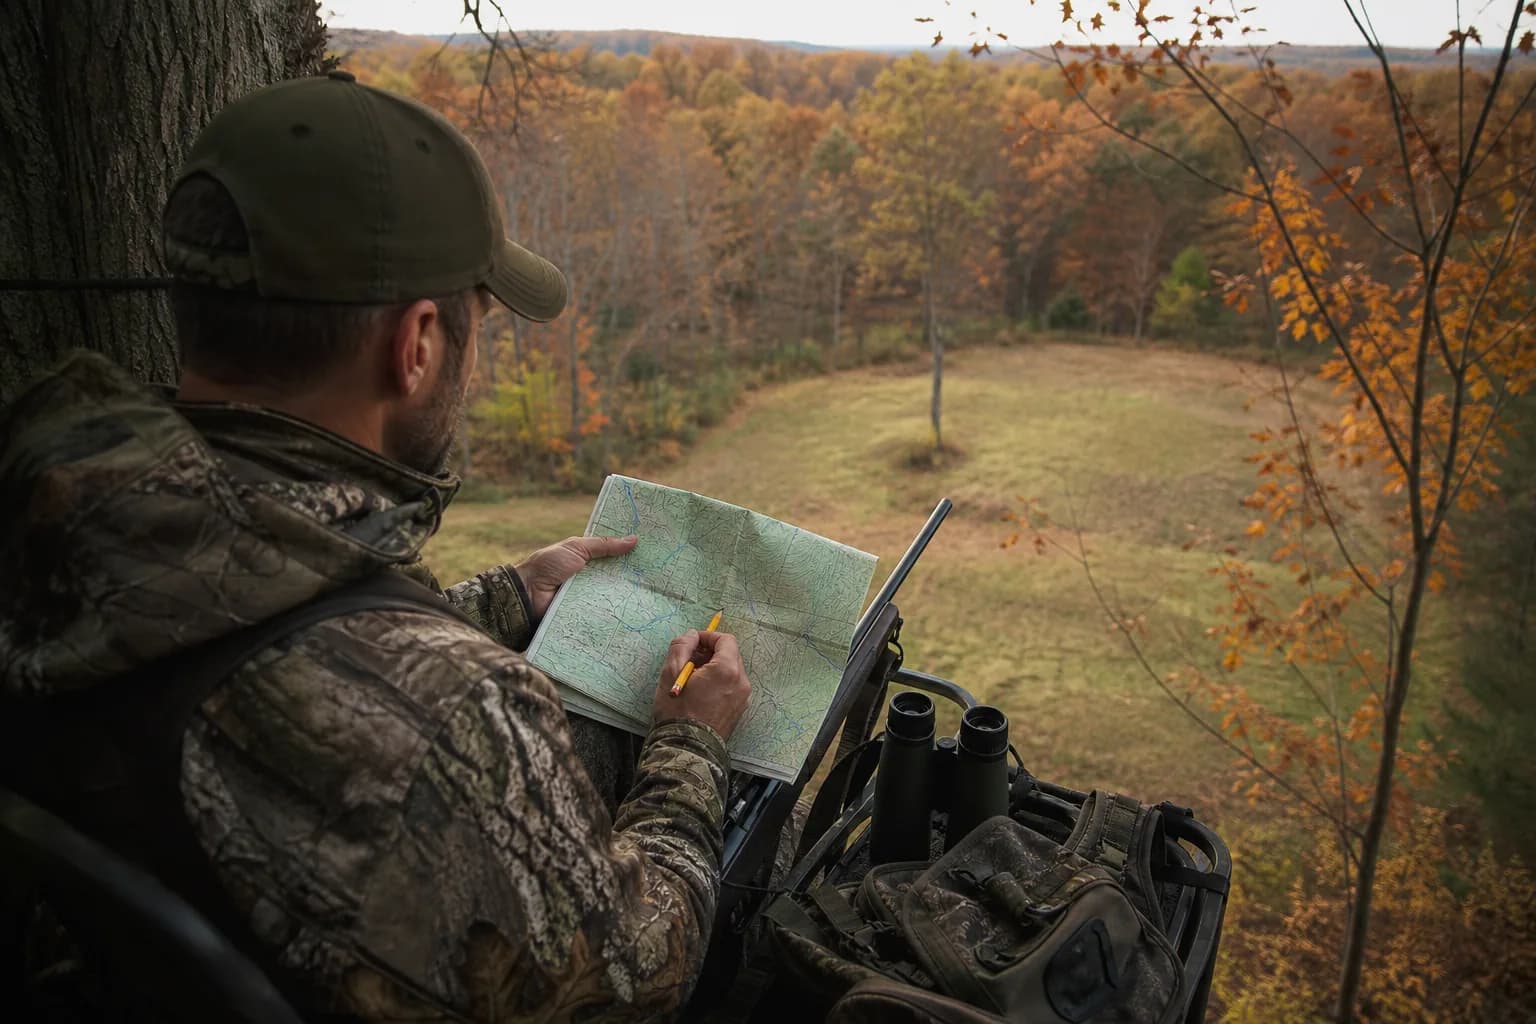
Stay in place, make the weapon safe, watch and listen, mark the deer's position and last sighting, record the time, then choose the wait before approaching the hit site.
The work of recovery starts while the deer is still in view. Keep watching and listening, make the hunting implement safe and resist the impulse to climb down or run forward. The first observations are often the only clean record of where the deer stood and how it left.
The first 60 seconds
- Keep your eyes on the deer and the route it takes.
- Make the firearm or bow safe while maintaining awareness of the scene.
- Choose a fixed landmark at the deer's position and another at the last sighting.
- Listen for brush, a crash, continued travel or silence.
- Record the exact time.
Do not rely on memory alone. Adrenaline and a change from an elevated position to ground level can alter distance and alignment. Texas Parks & Wildlife teaches hunters to note landmarks before and after the shot, while Alaska Fish and Game recommends preserving the sight picture and direction of travel.
Build a post-shot record before moving
| Observation | Record this detail | Why it matters |
|---|---|---|
| Shot geometry | Broadside, quartering, elevation and estimated impact point | Helps reconstruct the possible internal path |
| Reaction | Jump, hard run, hunch, stumble, slow walk or no clear cue | Adds context without proving wound location |
| Travel | Direction, trail opening and last visible location | Creates a line for the initial search |
| Sound | Impact, brush, crash and the point sound ended | May identify a corridor or stopping area |
| Conditions | Time, temperature, rain, snow, wind and remaining light | Affects visibility, safety and meat-care planning |
Drop map pins for the shooter, the deer's position and the last sighting. If there is no signal, use an offline map, compass bearing or written landmarks. Tell a partner what you observed before hearing their version.
Choose the wait before approaching the hit site
If the deer is out of sight and not known to be down, official guidance recommends patience. Massachusetts says at least 30 minutes after a firearm shot and 45 to 60 minutes after an archery shot. Texas teaches a general wait of 30 minutes to one hour. Missouri notes that suspected liver or gut hits may require about four hours.
The wait should grow when the shot was uncertain, farther back than intended, paired with a hunched reaction, or later supported by dark blood or digestive material. Read How Long to Wait After Shooting a Deer before entering the route. Weather and warm temperatures create real pressure, but they do not reveal wound location.
Use the waiting period to prepare, not to speculate
- Save the shot notes and share the return time with a trusted person.
- Check current legal hours, tagging and reporting requirements.
- Confirm permission for any private property the deer may enter.
- Prepare a headlamp, backup light, navigation, removable markers and gloves.
- Arrange cooling equipment and a safe way to move the recovered deer.
- Contact a legal tracking-dog handler early if the evidence is uncertain.
A compact recovery kit should solve visibility, marking, navigation and field-care problems without adding clutter. Test batteries and download maps before the hunt. Keep any firearm unloaded or carried as required by local law, maintain muzzle control and never use a carry method that has not been practiced safely.
Approach the hit site as an evidence area
After the selected wait, approach the place the deer stood from the side when possible. Keep companions behind until the first inspection is complete. Photograph sign before touching it. Search for blood, cut hair, tracks, tissue, displaced leaves, broken stems, an arrow and impact marks. North Carolina Wildlife notes that initial blood may not appear for several yards, so an empty hit site does not prove a miss.
Compare any color or material with the deer blood color chart, but do not let one drop override the shot angle and developing pattern. Mark the hit site even if no sign is found.
Begin the trail without destroying it
Follow the exact sequence in How to Blood Track a Deer: walk beside the trail, mark every confirmed clue and return to the last marker when sign is lost. Scan low vegetation as well as the ground. Keep one person anchored at the last sign during difficult restarts.
If there is no visible blood, do not release a group in every direction. Check tracks, hair and disturbed cover along the known departure line, then use the lanes in the systematic no-blood search plan. Protecting evidence is especially important if a tracking dog may be called.
Approach a downed deer cautiously
Stop at a distance and watch for breathing or movement. Approach from behind rather than toward the head, antlers or hooves, and maintain a safe route away. A wounded deer can move suddenly. Do not attempt to dispatch an animal with a knife. Any follow-up shot must be safe, legal, within legal hours and consistent with the current rules for the hunting method and location.
Once the deer is confirmed dead, make the hunting implement safe before handling the carcass. Complete the tag and harvest report in the order and time required by the state. Do not copy a tagging procedure from another jurisdiction.
Protect the meat after recovery
Field dress and begin cooling promptly while avoiding contamination. Penn State Extension recommends disposable gloves, clean tools, removal of visible dirt or digestive material and refrigeration below 40 degrees Fahrenheit as soon as practical. If the digestive tract was damaged, trim visible contamination with a clean knife, clean the knife between cuts and dry the cavity after any necessary rinsing.
Prepare ice and a cooler before an early-season hunt. Keep the carcass away from engine heat and direct sun, allow air circulation and transport it to refrigeration or a processor promptly. Consult current chronic wasting disease testing and carcass-transport rules for both the harvest state and the destination.
Printable recovery checklist
- Watch, listen and make the hunting implement safe.
- Record shot time, position, deer location and last sighting.
- Describe angle, reaction and direction without diagnosing the hit.
- Select a wait from the full evidence.
- Confirm legal hours, property access and dog-use rules.
- Prepare lights, navigation, markers, gloves and cooling equipment.
- Photograph and mark the hit site.
- Follow sign from one confirmed point to the next.
- Back out if a deer is bumped or a fresh bed changes the assessment.
- Tag, report, cool and transport according to current state rules.
Sources & field references
- Massachusetts Division of Fisheries & Wildlife - Deer hunting tips
- Texas Parks & Wildlife Department - After the Shot
- North Carolina Wildlife Resources Commission - After the Hunt
- Alaska Department of Fish and Game - Recovering Wounded Game
- Missouri Department of Conservation - Hunting White-Tailed Deer in Missouri
- Penn State Extension - Proper Field Dressing and Handling of Wild Game and Fish
Frequently asked
What is the first thing to do after shooting a deer?
Keep watching and listening while making the firearm or bow safe. Record where the deer stood, how it reacted, its direction of travel, the last place it was visible and the time.
Should you go straight to where the deer was standing?
Usually not when the deer is out of sight and not known to be down. Official hunter-education guidance commonly recommends a wait first, followed by a careful approach that preserves tracks, hair and blood.
Related field notes

Blood Tracking Dogs: When to Call and How to Protect the Trail
A trained, leashed tracking dog can follow scent when visible blood fades. Call early, protect the hit site, and confirm the rules before a large search disturbs the trail.

How to Carry a Rifle While Blood Tracking
The best carry method during a recovery keeps the muzzle controlled, the trigger protected, and the firearm secure while terrain and the search task change.

Shoulder or Muscle-Hit Deer: Reading the Trail
Shoulder, leg, and superficial muscle wounds can produce bright blood, hair, or bone without proving a fatal chest hit. Preserve the trail and reassess before pushing ahead.